
Reasons Why Your Wig Is Shedding And How To Fix Them
Do you find your wigs shed more than they should? Keep reading for the top reasons behind wig shedding and how to fix them. 
Incorrect Washing
Regularly washing your wig is a big part of maintaining the quality and health of your wigs for as long as possible. However, it's not just about washing your wig regularly, it's also about washing it correctly. Washing your wigs haphazardly can cause tangles and shedding which is why it's important to wash your wigs the right way–with gentle care.

Lack Of Detangling
Ideally, wigs should be detangled prior to and after wearing. This helps to keep tangles at bay and in turn, prevents shedding. You should especially take care to carefully detangle your wigs prior to washing them, otherwise the washing process can make tangles worse and nobody wants that. Here is the best way to detangle your wig:
- Use a wide tooth comb
- Work in small sections
- Always detangle from the tip to the root
On the flip-side, too much brushing can also cause wigs to shed. Outside of the regularly needed detangling, try not to brush or comb your wig if it doesn't need it. Otherwise, you run the risk of causing and encouraging extra shedding.
Storage Technique
Incorrectly storing your wigs can also lead to tangling and shedding. Instead of throwing your wig into a drawer or on top of a mannequin head after wear, try storing them in wig hangers or wig bags. Satin lined bags are especially useful as they're more gentle on the hair and prevent snags, tangles and shedding.
Image | Silky Saks
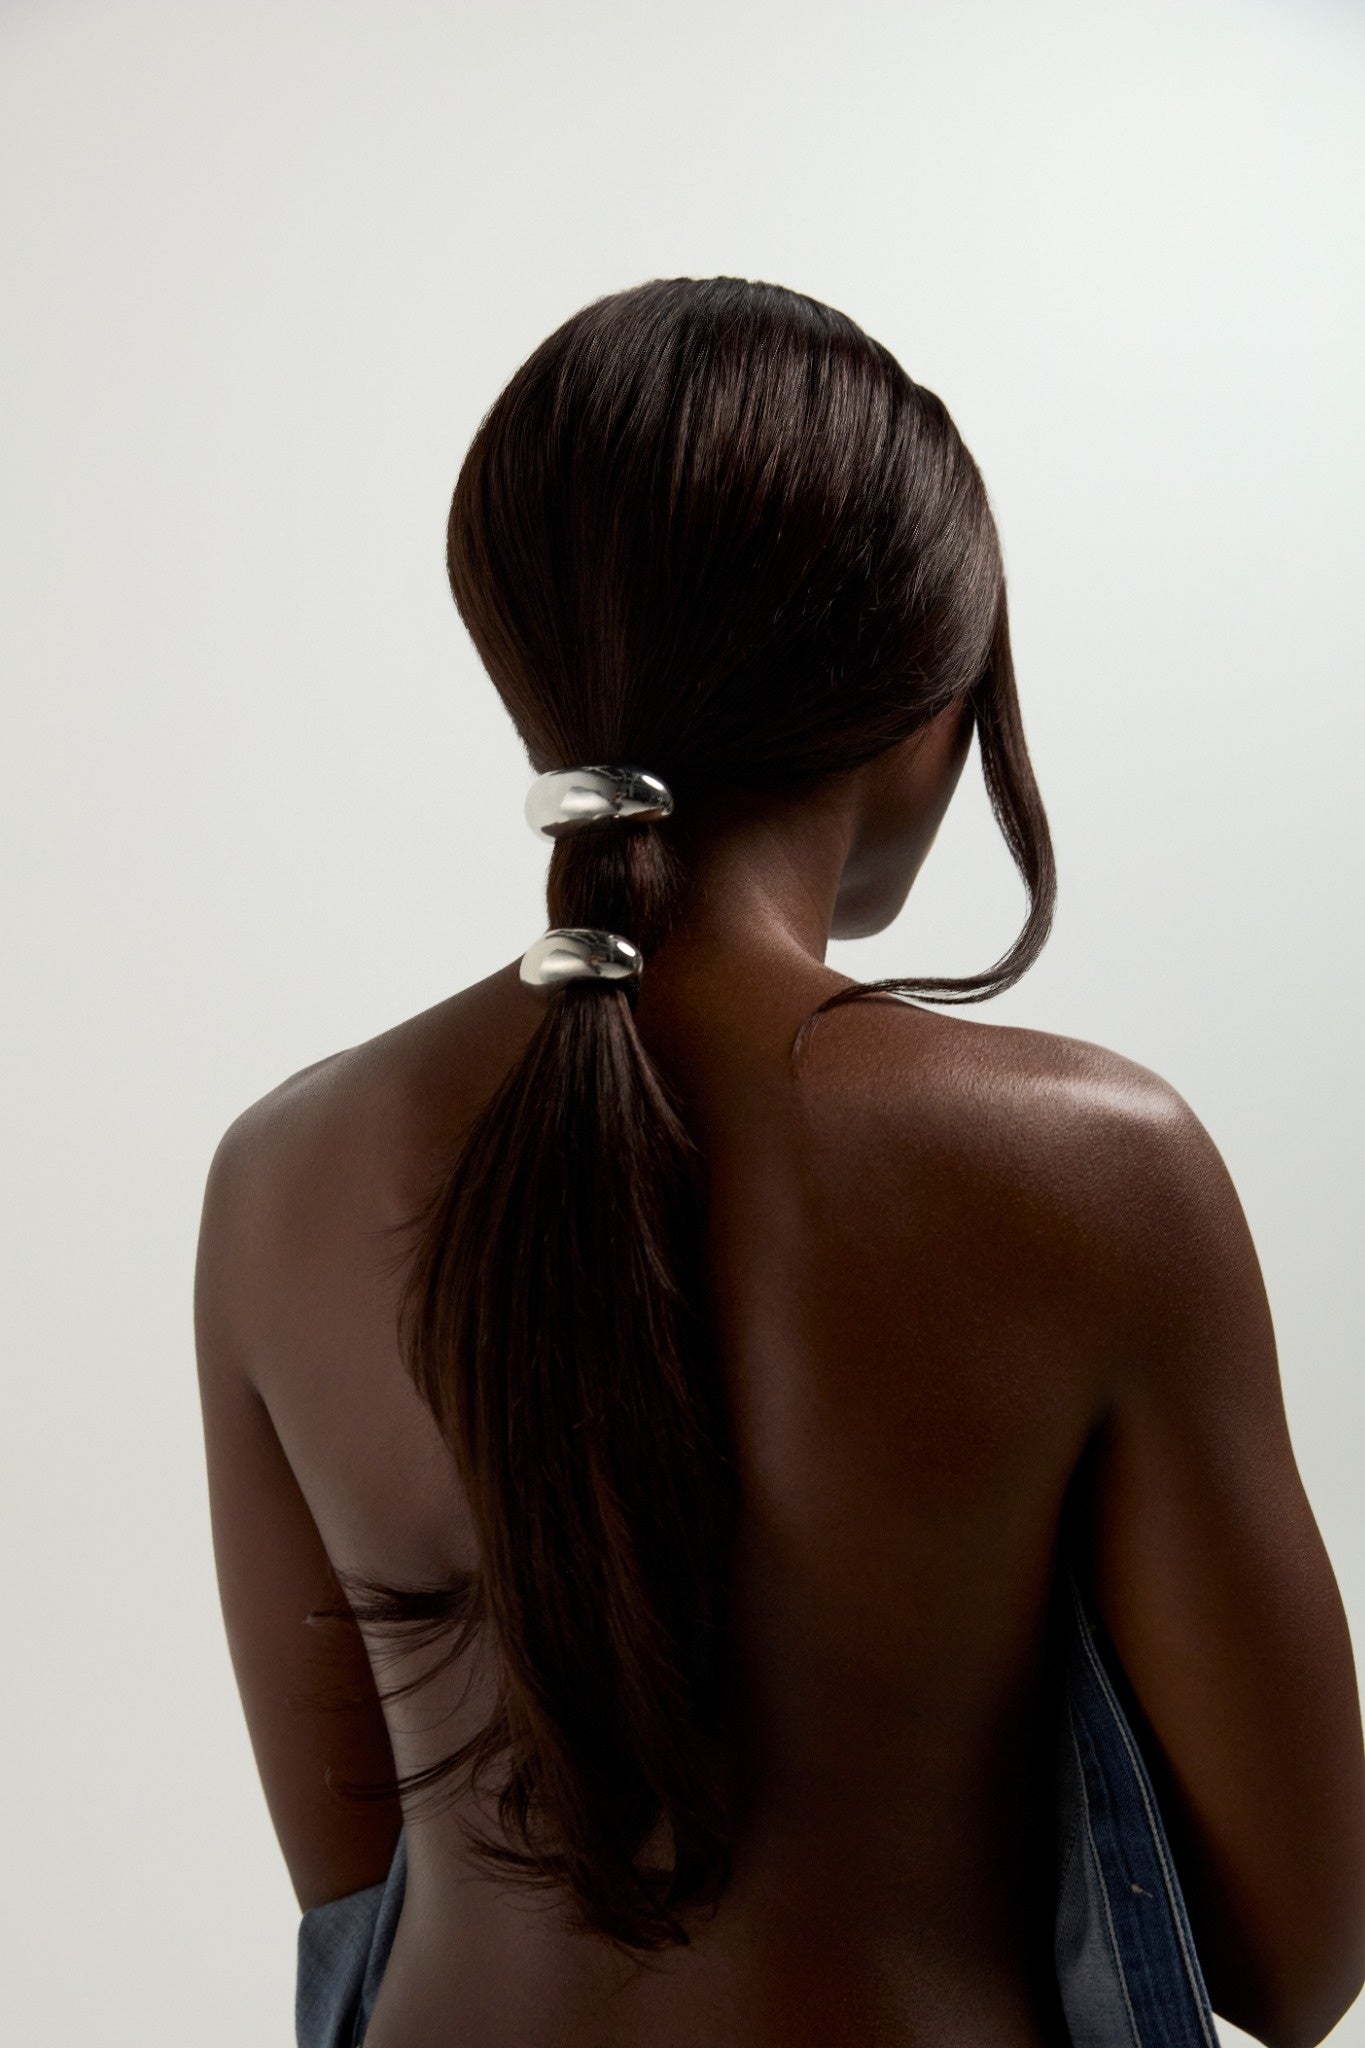
In addition to this, always ensure you thoroughly detangle your wig before storing it away. For longer styles, loosely braiding them or putting them into a low ponytail in addition to detangling can also reduce shedding.
Too Many Products
Contrary to popular belief, using too many products on your wig can actually damage your wigs. Instead of overloading your wig with a host of styling products, keep it to a minimum and only use what your wig really needs and only use products when it needs them.
For example, your wig probably doesn't need to be coated with hair oil every single day. If it's an everyday wig your wear regularly, 1-2 times a week is enough.
If you attach your wigs using glue, be wary that this can also cause the wig to shed when too much glue is used and not removed correctly. Instead of using glue which can also damage your natural hair, consider the Wig Fix instead.
It's a silicone hair gripper designed to keep wigs attached without damaging your hair or the delicate lace on the wig. It works with all full-circumference wigs (wigs that cover the entire head) for a glueless style.
For frontal ear flaps, a small amount of gel or mousse can be used to keep these secured. As only the smallest amount is needed in this case, the product is easier to remove and less likely to damage the lace.

Image | The Renatural
Excessive Heat Styling
Similarly to product overuse, too much of anything can be a bad thing and for wigs, the same goes with heat styling. Constant heat styling can lead to breakage and also cause wigs to shed.
This doesn't mean you can never heat style your wigs, it just means you should try to reduce heat styling and always take protective measures to keep your wigs looking their best:
- Use a heat protectant
- Use the lowest temperature possible on your styling tools to achieve your desired style
- Combine heat styling with non-heat methods: e.g. if you've curled your wig in the day and want to maintain the style for another day, store it using rollers or curlers at night. This not only keeps heat styling to a minimum, it also saves you time the next day.
Things To Keep In Mind
When it comes down to it, wigs aren't infallible and they will shed–it's absolutely normal. However, the tips above can help you prevent excessive shedding to keep your wigs looking their best for as long as possible.
Also keep in mind that even if you take the best care of your wigs, if they're of lower quality, they're more likely to shed than higher-quality wigs. When buying human hair wigs, look for wigs that use virgin hair with the cuticles aligned.
Buying good quality wigs and taking good care of them will allow you to get your best out of them for years.
Will you be trying out this tips? Share your thoughts in the comments!

Leave a comment
This site is protected by hCaptcha and the hCaptcha Privacy Policy and Terms of Service apply.