
Viral Wig Products Explained
If like us you love keeping up with the latest wig trends, it might seem like new products are popping up all the time. While they might look fun to try out, with so many new additions to choose how can you spot which products are actually worth trying out? Sometimes you need to see viral wig products explained before taking the jump and buying into them. This post is doing just that so keep reading for more.

Wax Sticks
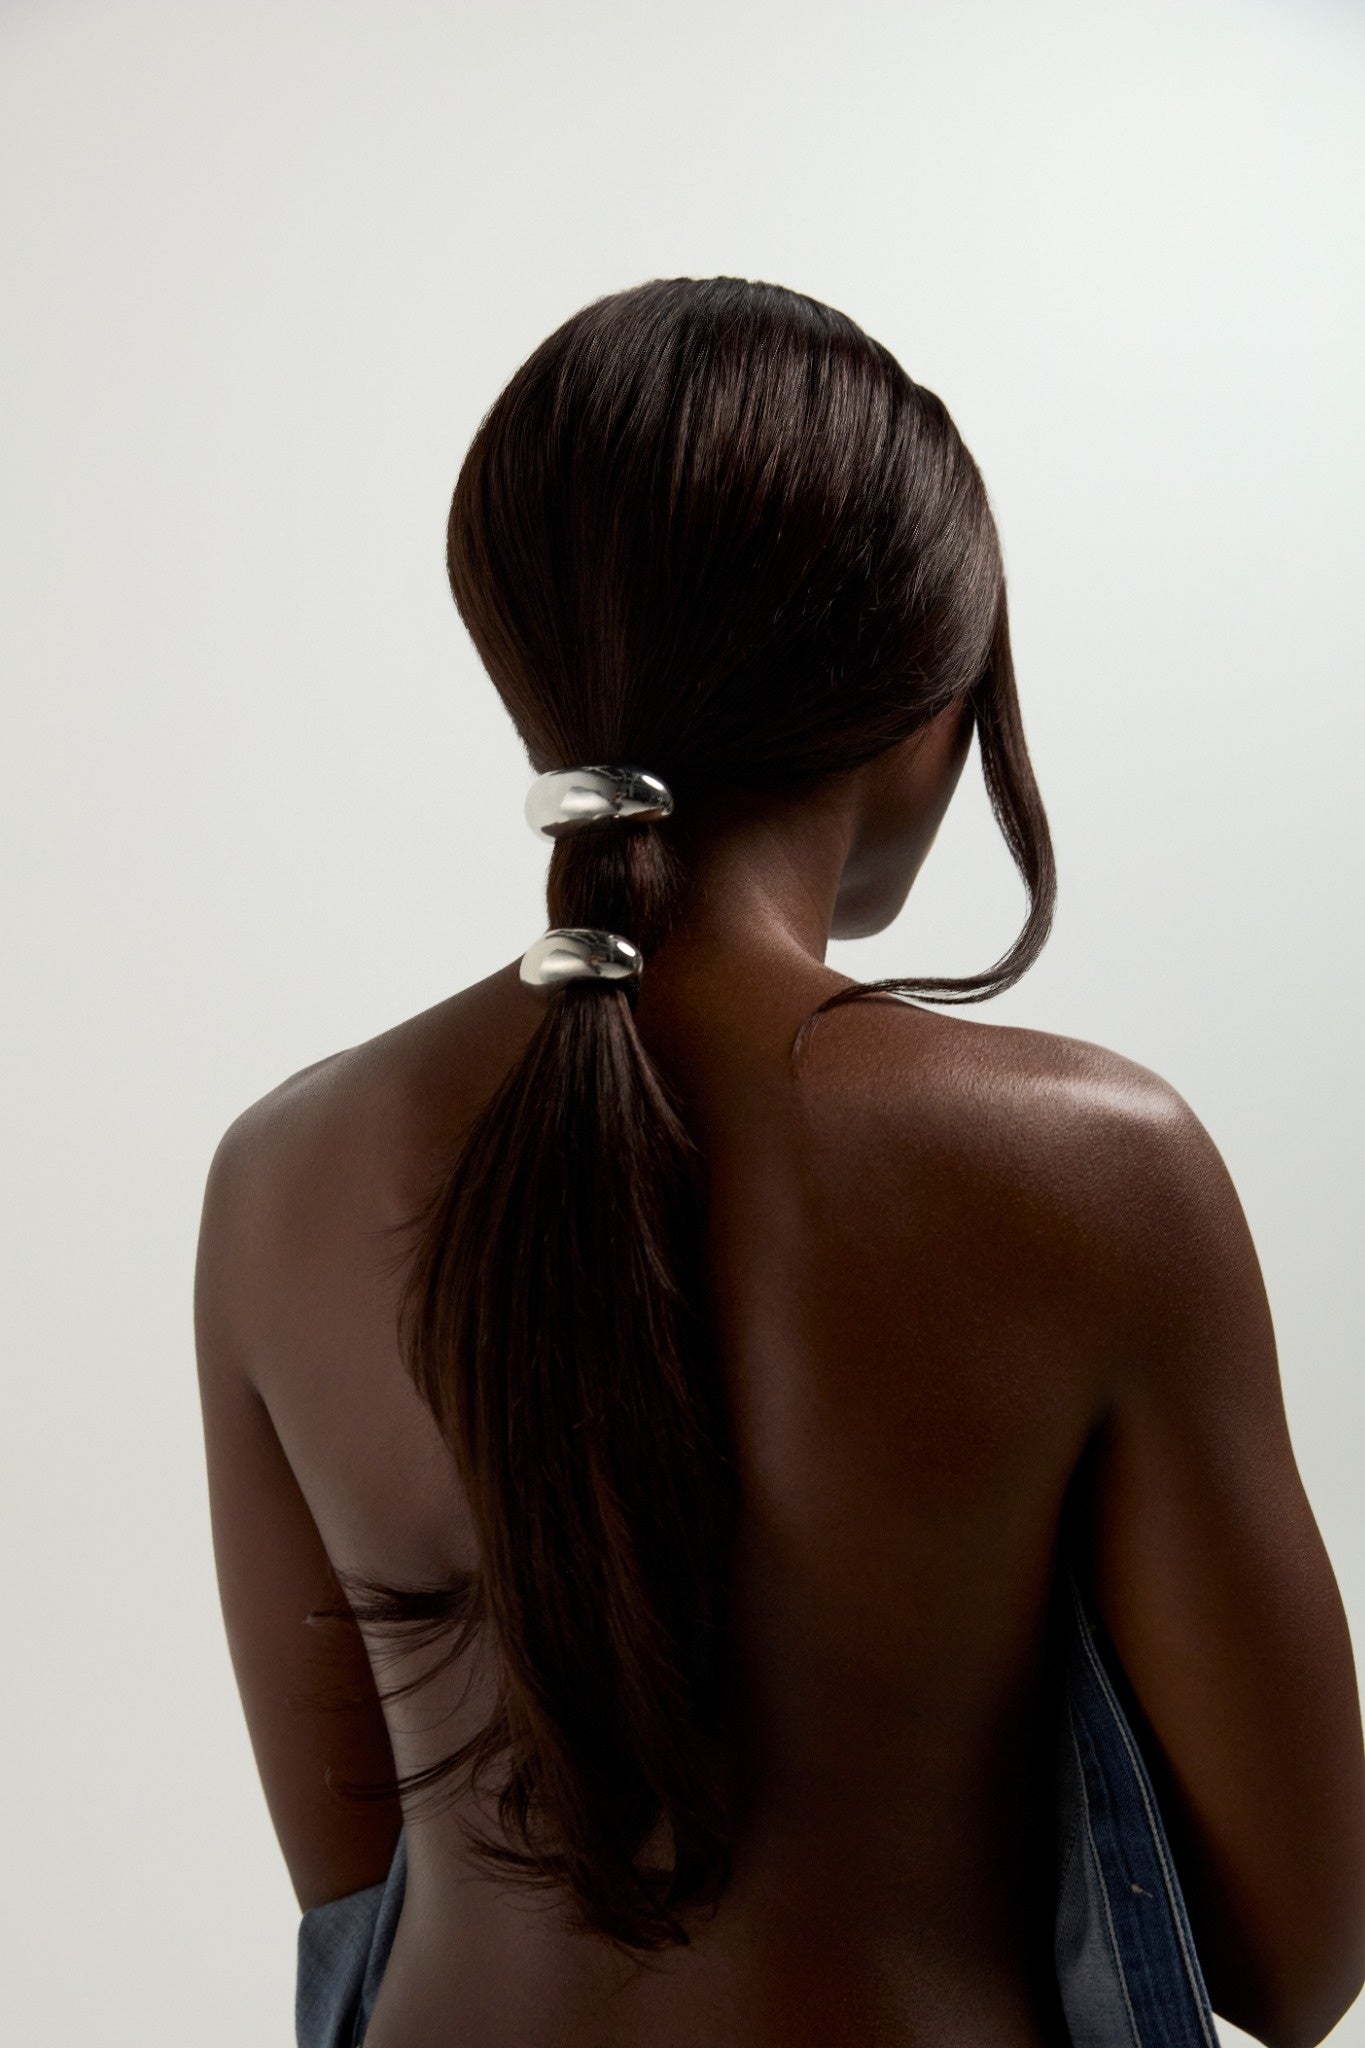
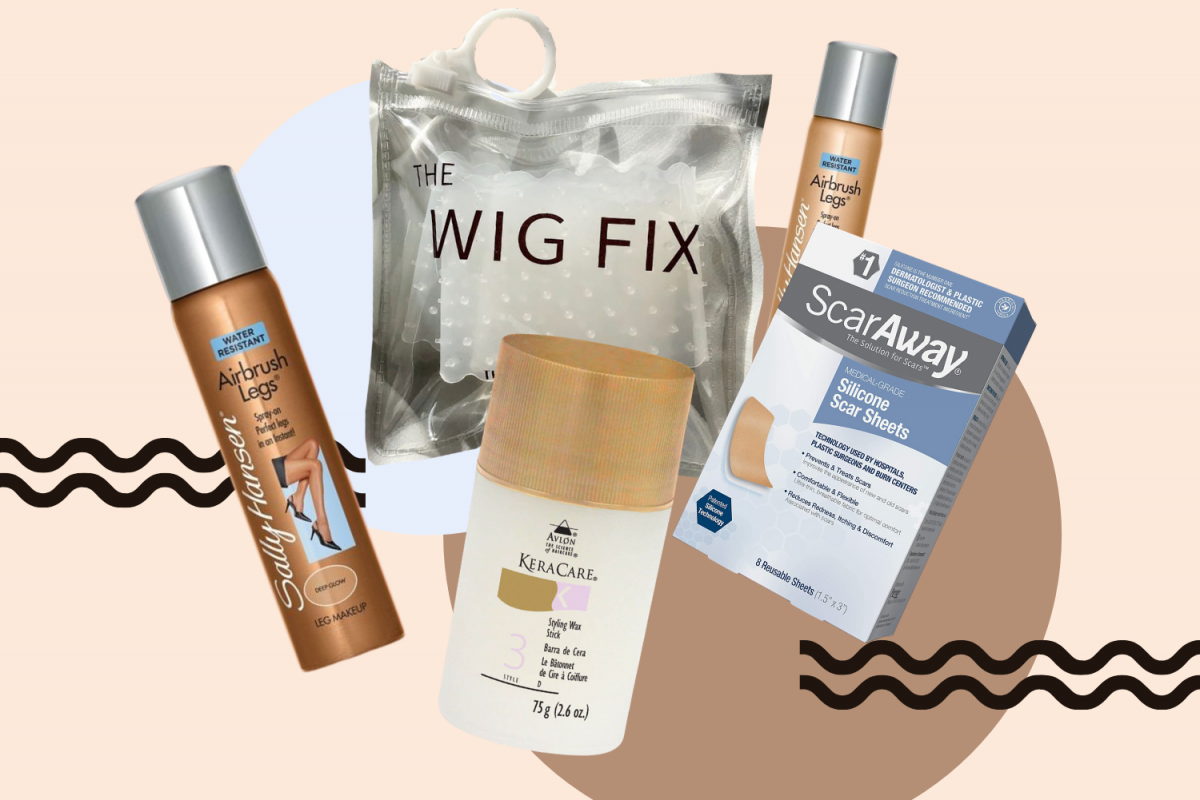
You don't have to be a regular wig wearer to have struggled with annoying flyaways at least once in your life. No matter how much you style it or how much hairspray you use, flyaways always seem to find a way to make themselves known and when all you want is to rock your sleek, bone-straight wig style, they can even become the very bane of your existence. At least temporarily. This is where wax bars come in. KeraCare's Styling Wax Stick in particular has made waves online for keeping flyaways smoothed down. Formulated with castor seed oil, bees wax and fruit wax, it's a great and easy way to add the finishing touches to your style. All you need to do is gently pass the stick over any flyaways and watch them magically stay slicked down without leaving your hair looking flaky or feeling crunchy. It's definitely a must-have in our haircare kits.

Image | Beauty Bay
ScarAway Tape
We've said it before and we'll say it again: nobody likes a wig that looks too wiggy. Nothing screams "wig" more than a questionable parting due to the grids on some wig lace. While we know that bleaching the knots is a great start in creating a realistic-looking parting on your wigs, sometimes no amount of bleaching or makeup can help create a great parting. Thankfully, someone out there did the heavy lifting and figured out that ScarAway Tape is an incredible way to create realistic-looking partings on wigs. Originally created to help prevent and treat scars, they also double up for use on wigs. Simply apply directly to the lace on your wig where the parting is visible and see how incredible it now looks. And don't worry about them bulking up your wigs or being uncomfortable; they're made from silicone and are almost as thin as plasters for the best fit. Watch the video below to see how it works:
Fake Tan Spray
Another way to make your lace look like it was custom created for you for the best result is by using fake tan spray to tint it. Tanning sprays were created to make the tanning process which sometimes can be a chore, quicker and easier but did you know they're a great way to fake the look of bleached and tinted lace? Sometimes you're just not in the mood to go through the process of bleaching the knots on your lace and going through the process of tinting it or maybe your lace just looks a little ashy. Using tanning sprays is a quick and affordable way to combat those issues.
Sally Hansen's Airbrush Legs is the product many people love to use for this technique and for good reason: it's usually available in most drugstores and the mist is fine enough that it makes application effortless. One thing to keep in mind is that sometimes the product can seep through the lace and onto the hair so make sure you clean up any excess product for the best results.

Image | MakeupAlley
The Wig Fix
If you'v ever wondered if there was a quick, easy and mess-free way to apply your wigs every day, the answer is yes. The Wig Fix by The Renatural is a hair gripper made from 100% medical-grade silicone that keeps your wig secured for comfortable all day wear. Traditional attachment methods like clips, combs and glue are popular however they can actually damage hair and skin in the long term. Glue in particular can cause serious adverse reactions like hair loss and hyperpigmentation when worn excessively without correct application and removal.
If you wear wigs every day or just prefer a convenient attachment method, the Wig Fix will be your wig's new best friend.
View this post on Instagram
Will you be trying out any of these viral products? Let us know in the comments.


Leave a comment
This site is protected by hCaptcha and the hCaptcha Privacy Policy and Terms of Service apply.