Instagram Wigs: How To Make Yours Look Just As Good
Image | Munroe Bergdorf via Instagram Hair By Cipher
Instagram wigs. We've all seen them—beautiful, hand-made units in every shade of the rainbow with flawlessly plucked frontals and closures that are laid to perfection. But like with most things we see on IG and sometimes want to recreate in our own lives, when we try to translate that Insta glam into real life, the results can sometimes be a little...disappointing. And that's exactly why we've rounded up some of the reasons why your DIY wigs might not look like the ones you see on the 'gram and how you can change that so read on to find out more.

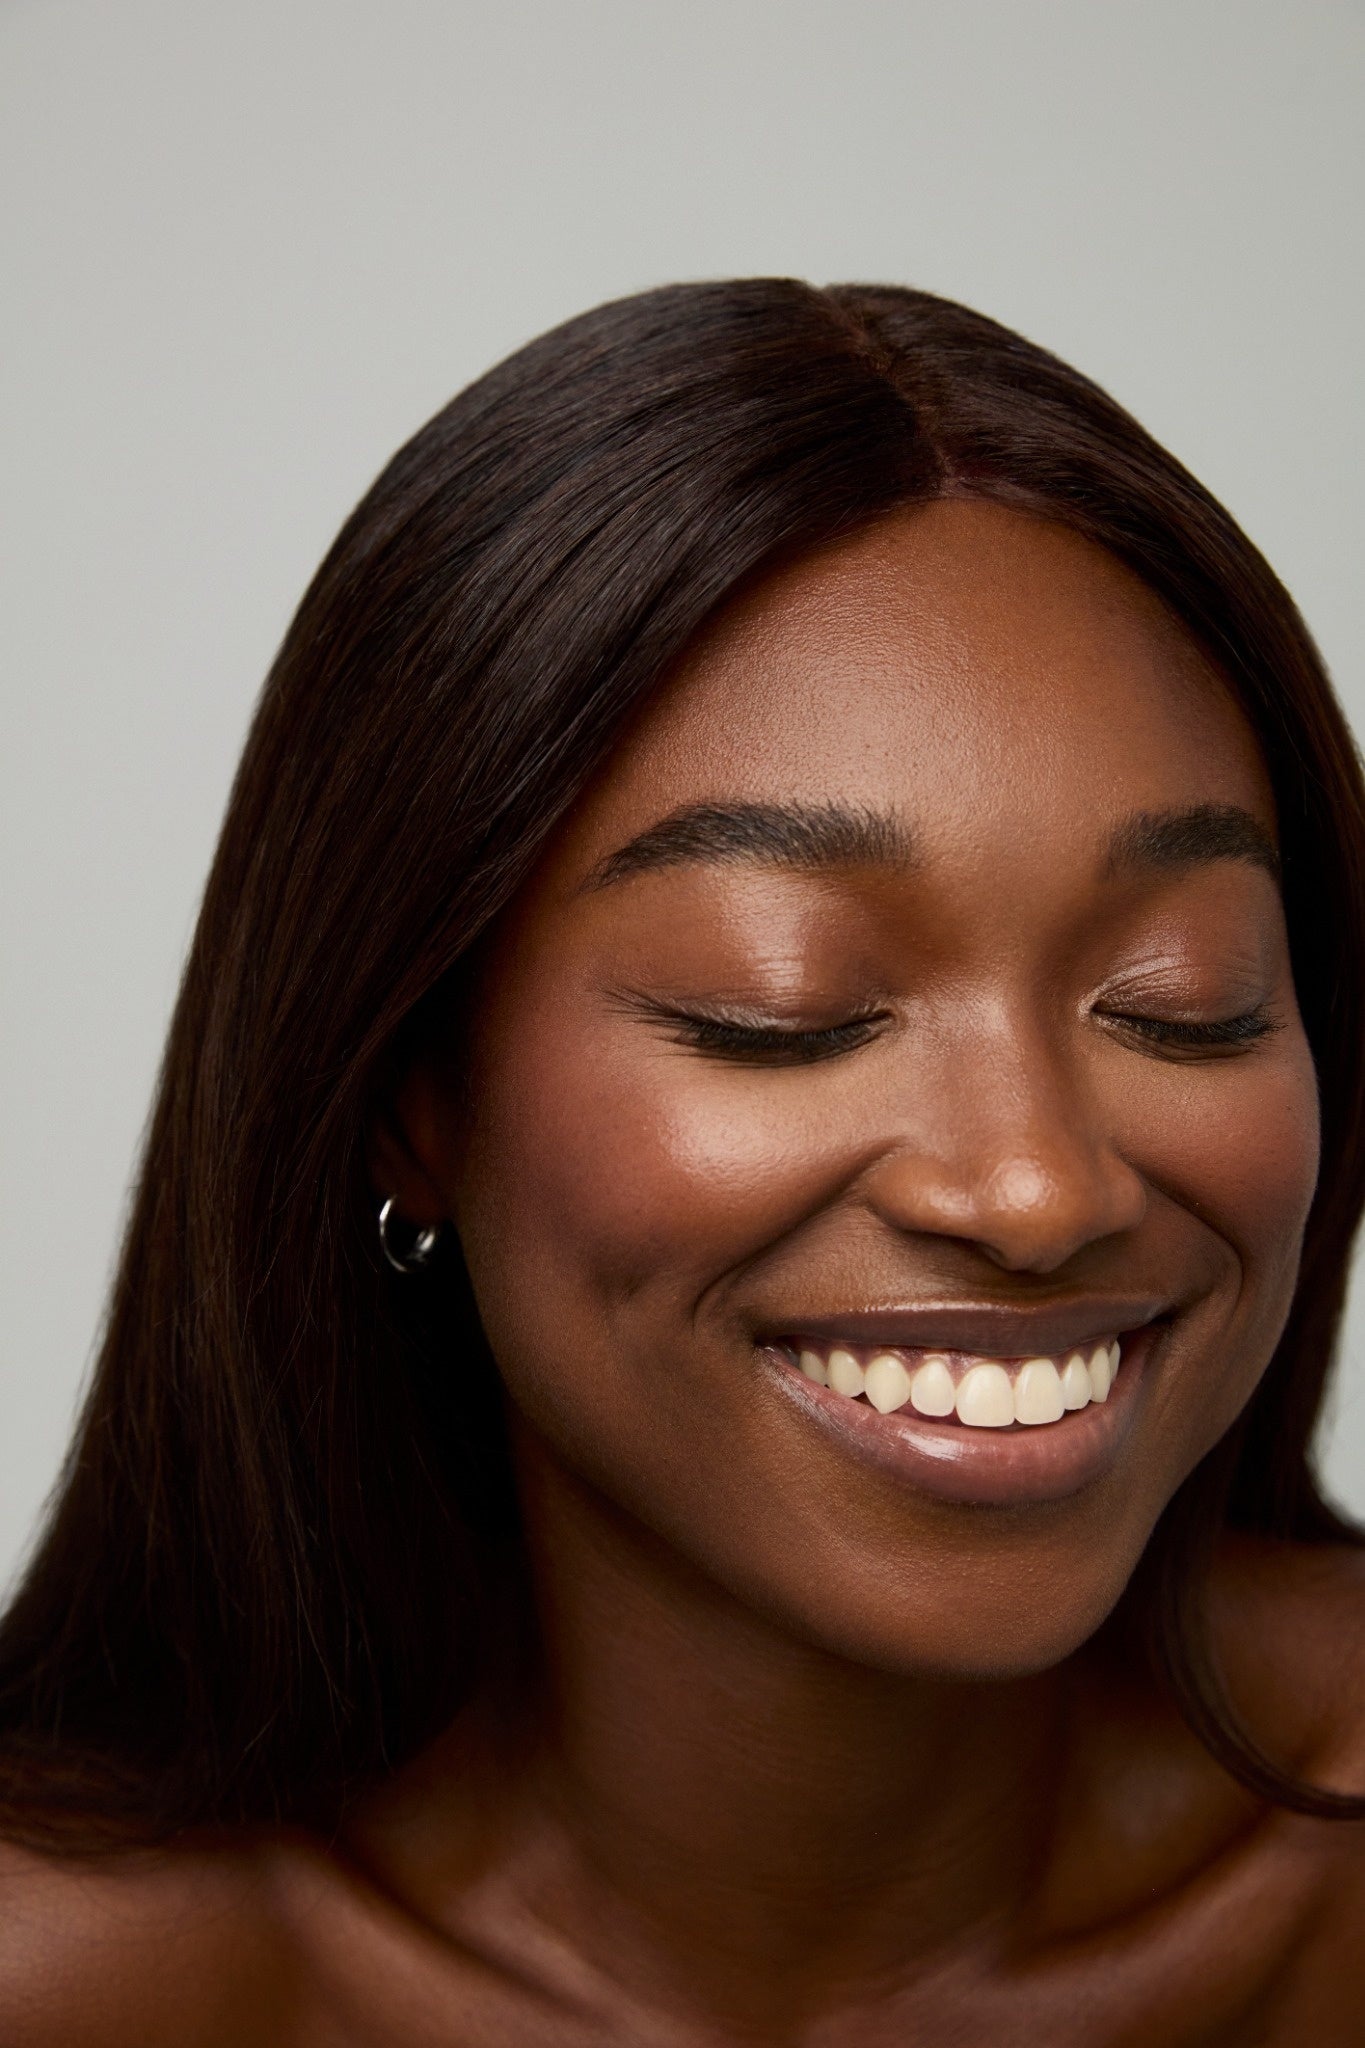
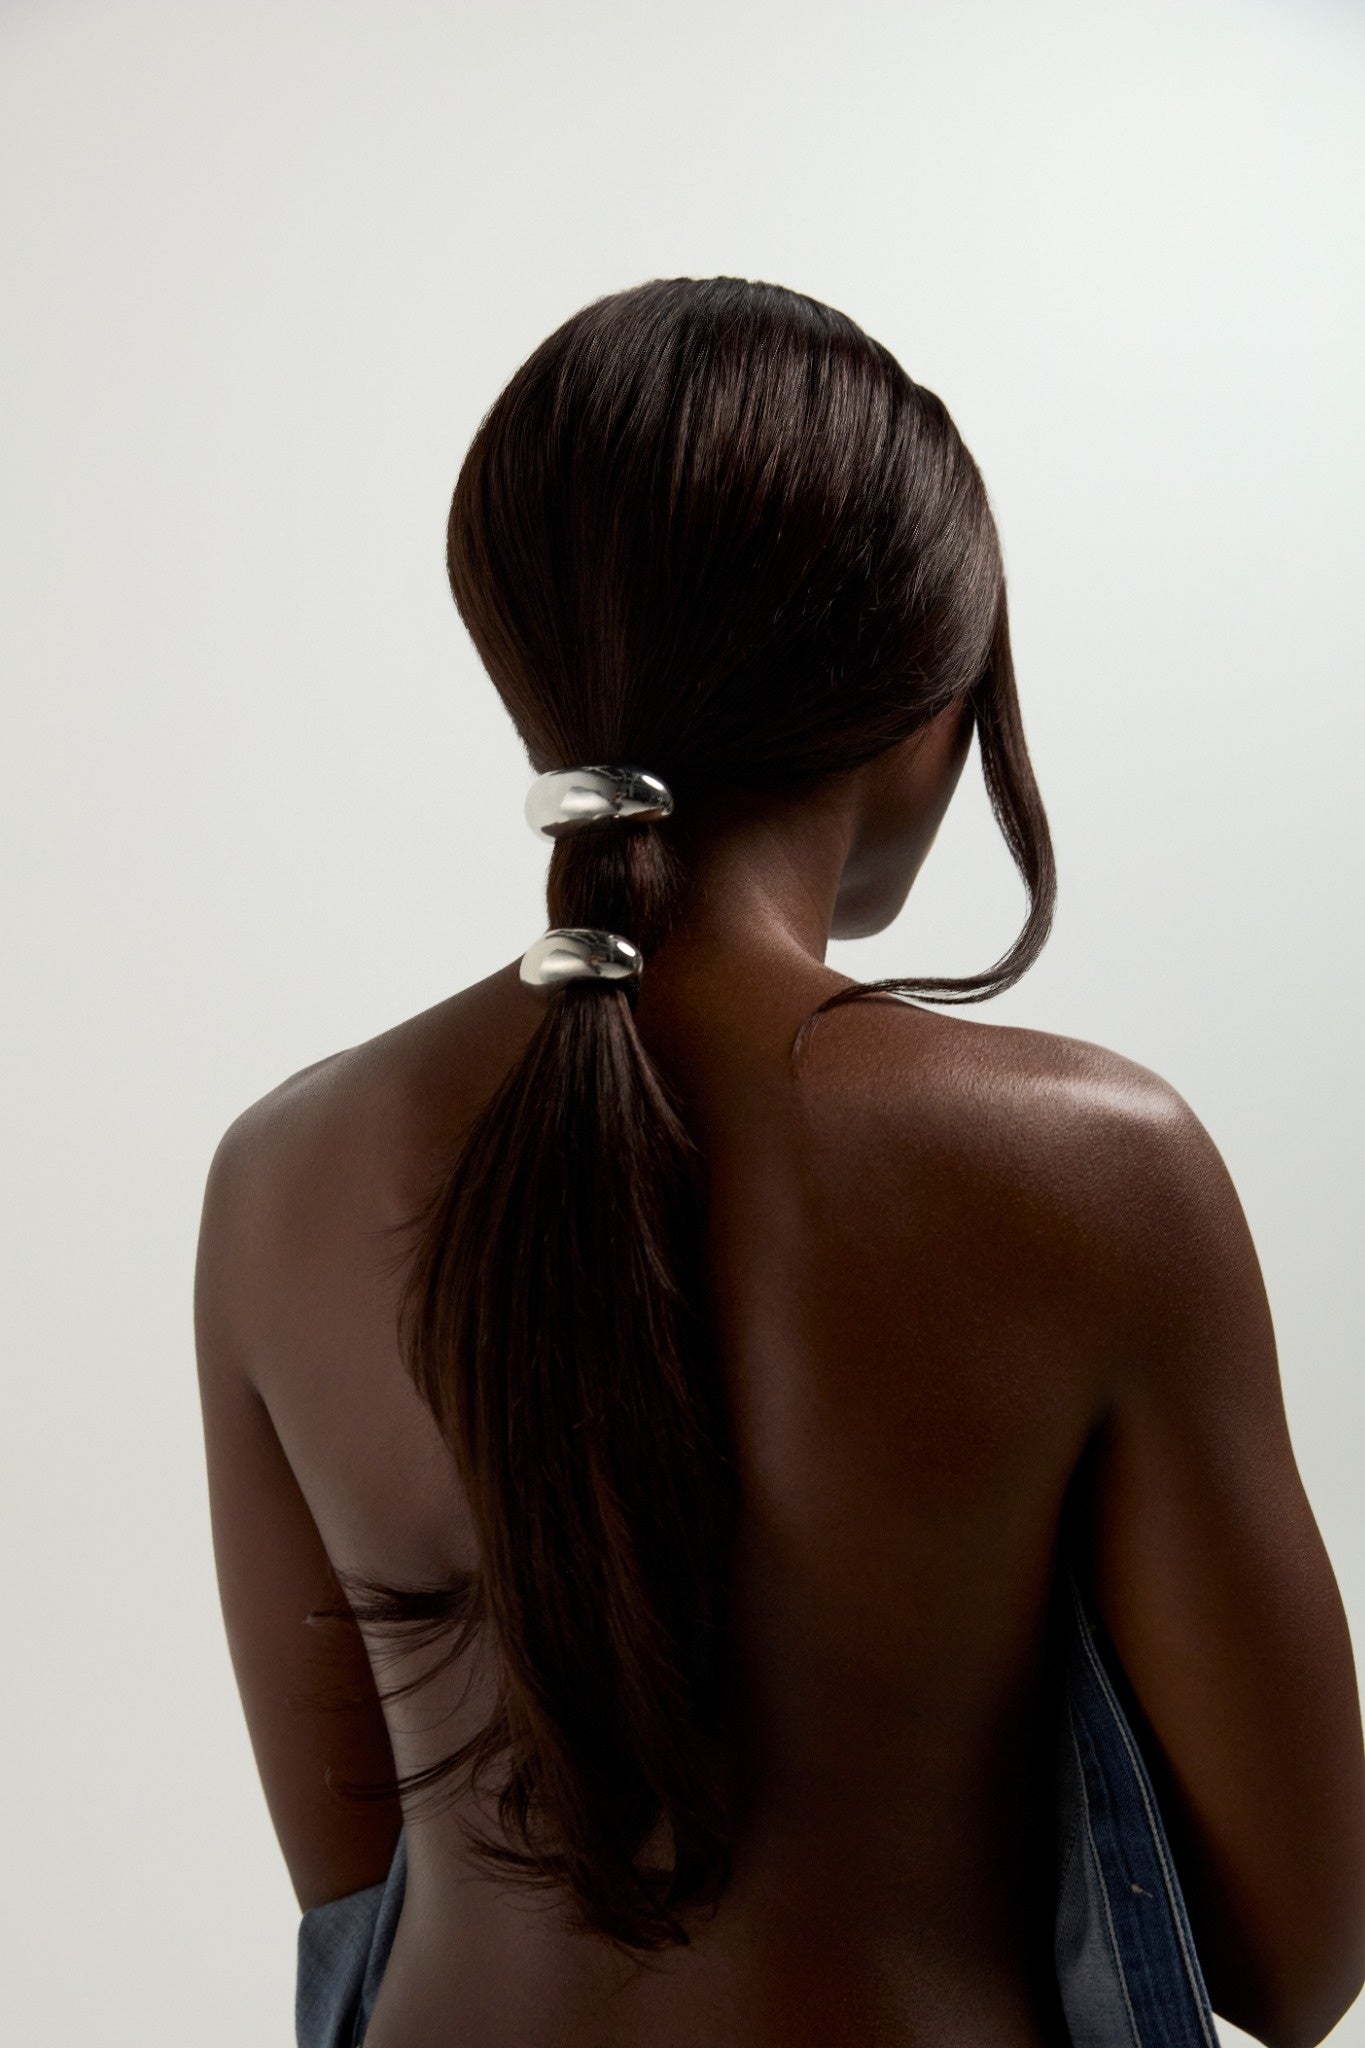
You're Not Using Quality Hair
Your favourite Instagram stylists are well known for using the best quality bundles around to achieve those flawless Instagram wigs. Don't worry though, while virgin hair (our #1 recommendation when it comes to bundles) can be expensive, you don't have to spend a fortune for good quality hair and with a healthy variety of sellers operating around the globe, premium and affordable hair is more accessible than ever. One of our favourites comes from Luxeriva Hair. Whether you're after a classic look or something more natural-looking, their classic Straight Hair Bundles and Kinky Curly Hair Bundles have you covered and with free shipping, your bundles will be with you in no time so you can get your new wig started ASAP.
If you're looking to splash some cash, Mikai McDermott's Cipher brand offers a range of frontals and bundles to purchase including hand-tied, HD Swiss lace frontals. And if Mikai's behind it, you can trust the quality will be unreal.
If you're on a tight budget and don't mind waiting a couple of weeks for your bundles, Aliexpress also has some great hair vendors available for you to buy from at prices that won't have you dipping into your savings to fund your new look. Cult favourite vendors include Ali Pearl and Ali Sugar both of which have been tried and tested by your Instagram faves.
 Image | High quality blended lace by Coco
 Image | High quality blended lace by
You're Not Using The Correct Attachment Method
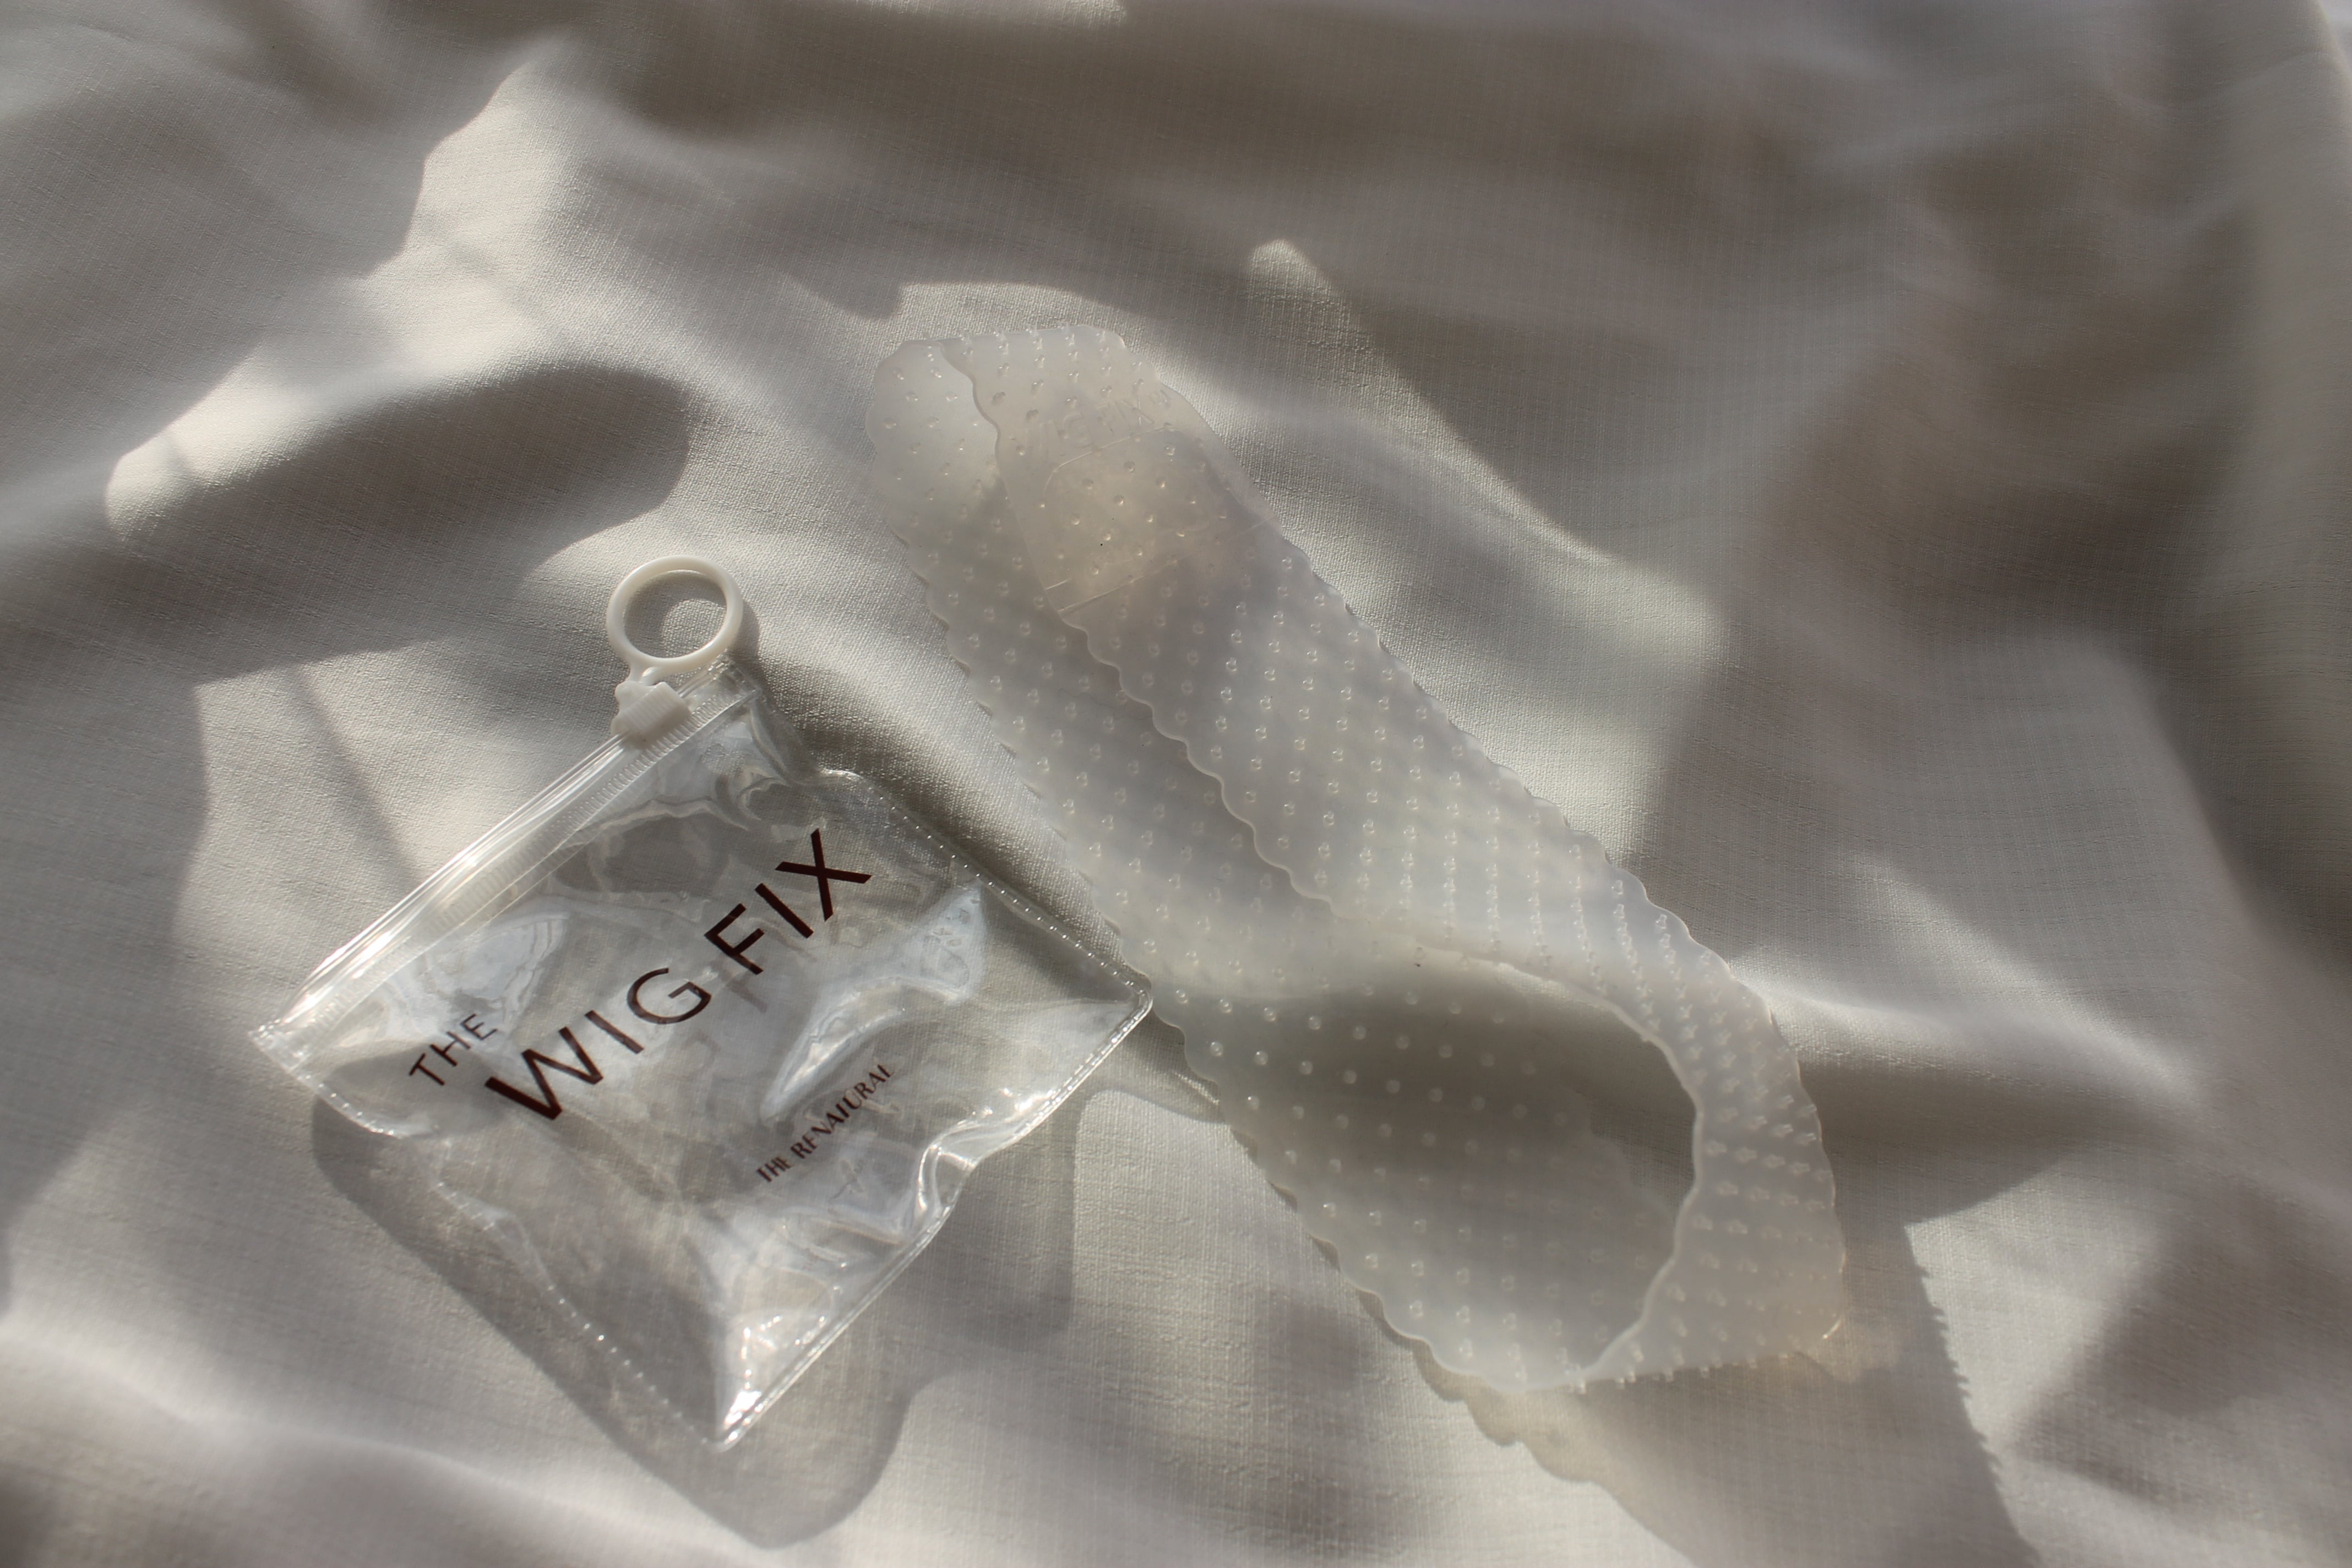
The way you attach your wig is just as important as getting the styling right. Whether you opt for a closure or frontal wig, using The Wig Fix to secure your wig doesn't just ensure it stays on for as long as you need it to, it also helps protect your hair—particularly your edges by allowing you to use no glue at all if it's a closure wig and less glue than usual when wearing frontals. Get the best way to secure your wig exclusively through The Renatural.

Image | The Wig Fix by The Renatural
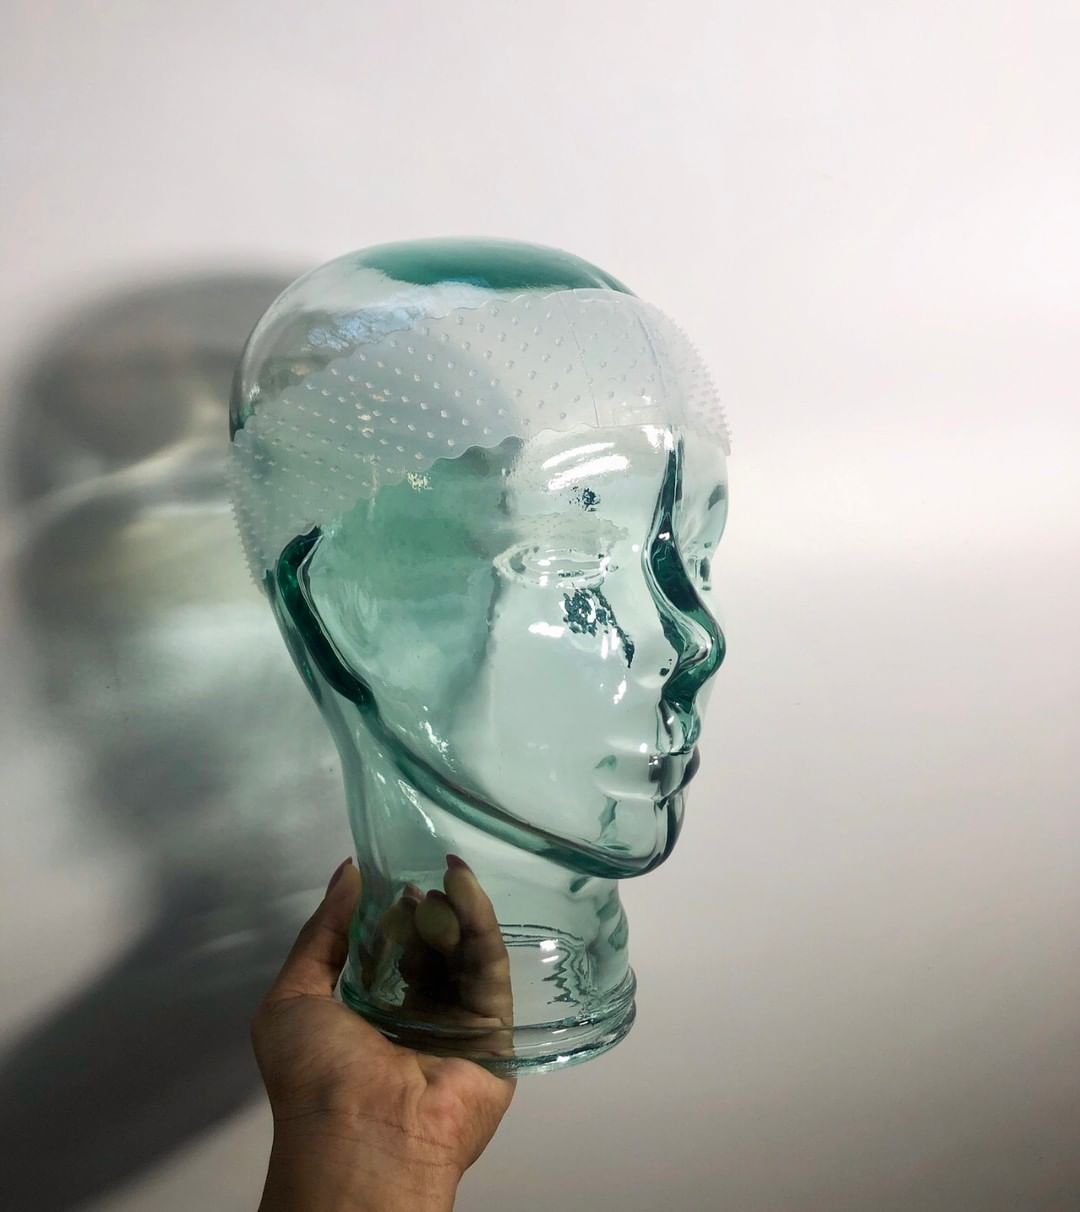
Your Lace Doesn't Match Your Skin Tone
Not all frontals are made equal. When choosing your frontals and closures, the best way to achieve that much-coveted Insta worthy lace melt is by using a frontal that's not only well made, thin and with nearly invisible knots, you also want to make sure it's a good match for your skin and scalp tone. Some brands now offer frontals with lace varying in shades to best match different skin tones or you can even go the extra mile and tint your lace for a custom finish thanks to brands like The Wig Gurus.
If you're unsure on what shade of lace to get, we always recommend going with a lighter shade. Remember: it's easier to tint a light lace to make it darker than it is to lighten lace that is too light!
 Image | Perfectly colour matched and blended lace by SoSoLuxe Hair using The Wig Gurus lace tint
 Image | Perfectly colour matched and blended lace by
You Just Need More Practice
Hairstyling and wig making isn't as easy as it may sometimes look and when you're looking at those incredible images of your favourite wig styles, just remember that the stylists all started somewhere and didn't always possess the talent they do now. With endless resources available online (think YouTube and Instagram tutorials) and offline masterclasses and courses, keeping at it and practising will only help you get better when it comes to wig making!
We'd love to hear your best tips for making your wigs look Iike the ones on Instagram so leave a comment below or head to our social media pages to share your insights!
Find us on social media:
Instagram | Twitter | Facebook
Leave a comment
This site is protected by hCaptcha and the hCaptcha Privacy Policy and Terms of Service apply.