

Protective Styling Using Wigs: How To Make Wigs Your Best Friend This Winter
Image | Adut Akech via Instagram
Winter is fully upon most of us which means drier, colder temperatures that can wreak havoc on your hair. Here's how to make protective styling using wigs easy in order to protect your hair from damage caused by cold, dry weather.

It's All About The Prep
Prepping your natural hair before a new wig install will put your hair in the best position to battle the cold weather and associated side effects like drier hair and increased breakage. Ensure your hair is clean, deep conditioned, moisturised and neatly braided in cornrows or twists. This keeps your hair safe under your wig and also allows your wig to sit flat for a seamless look!

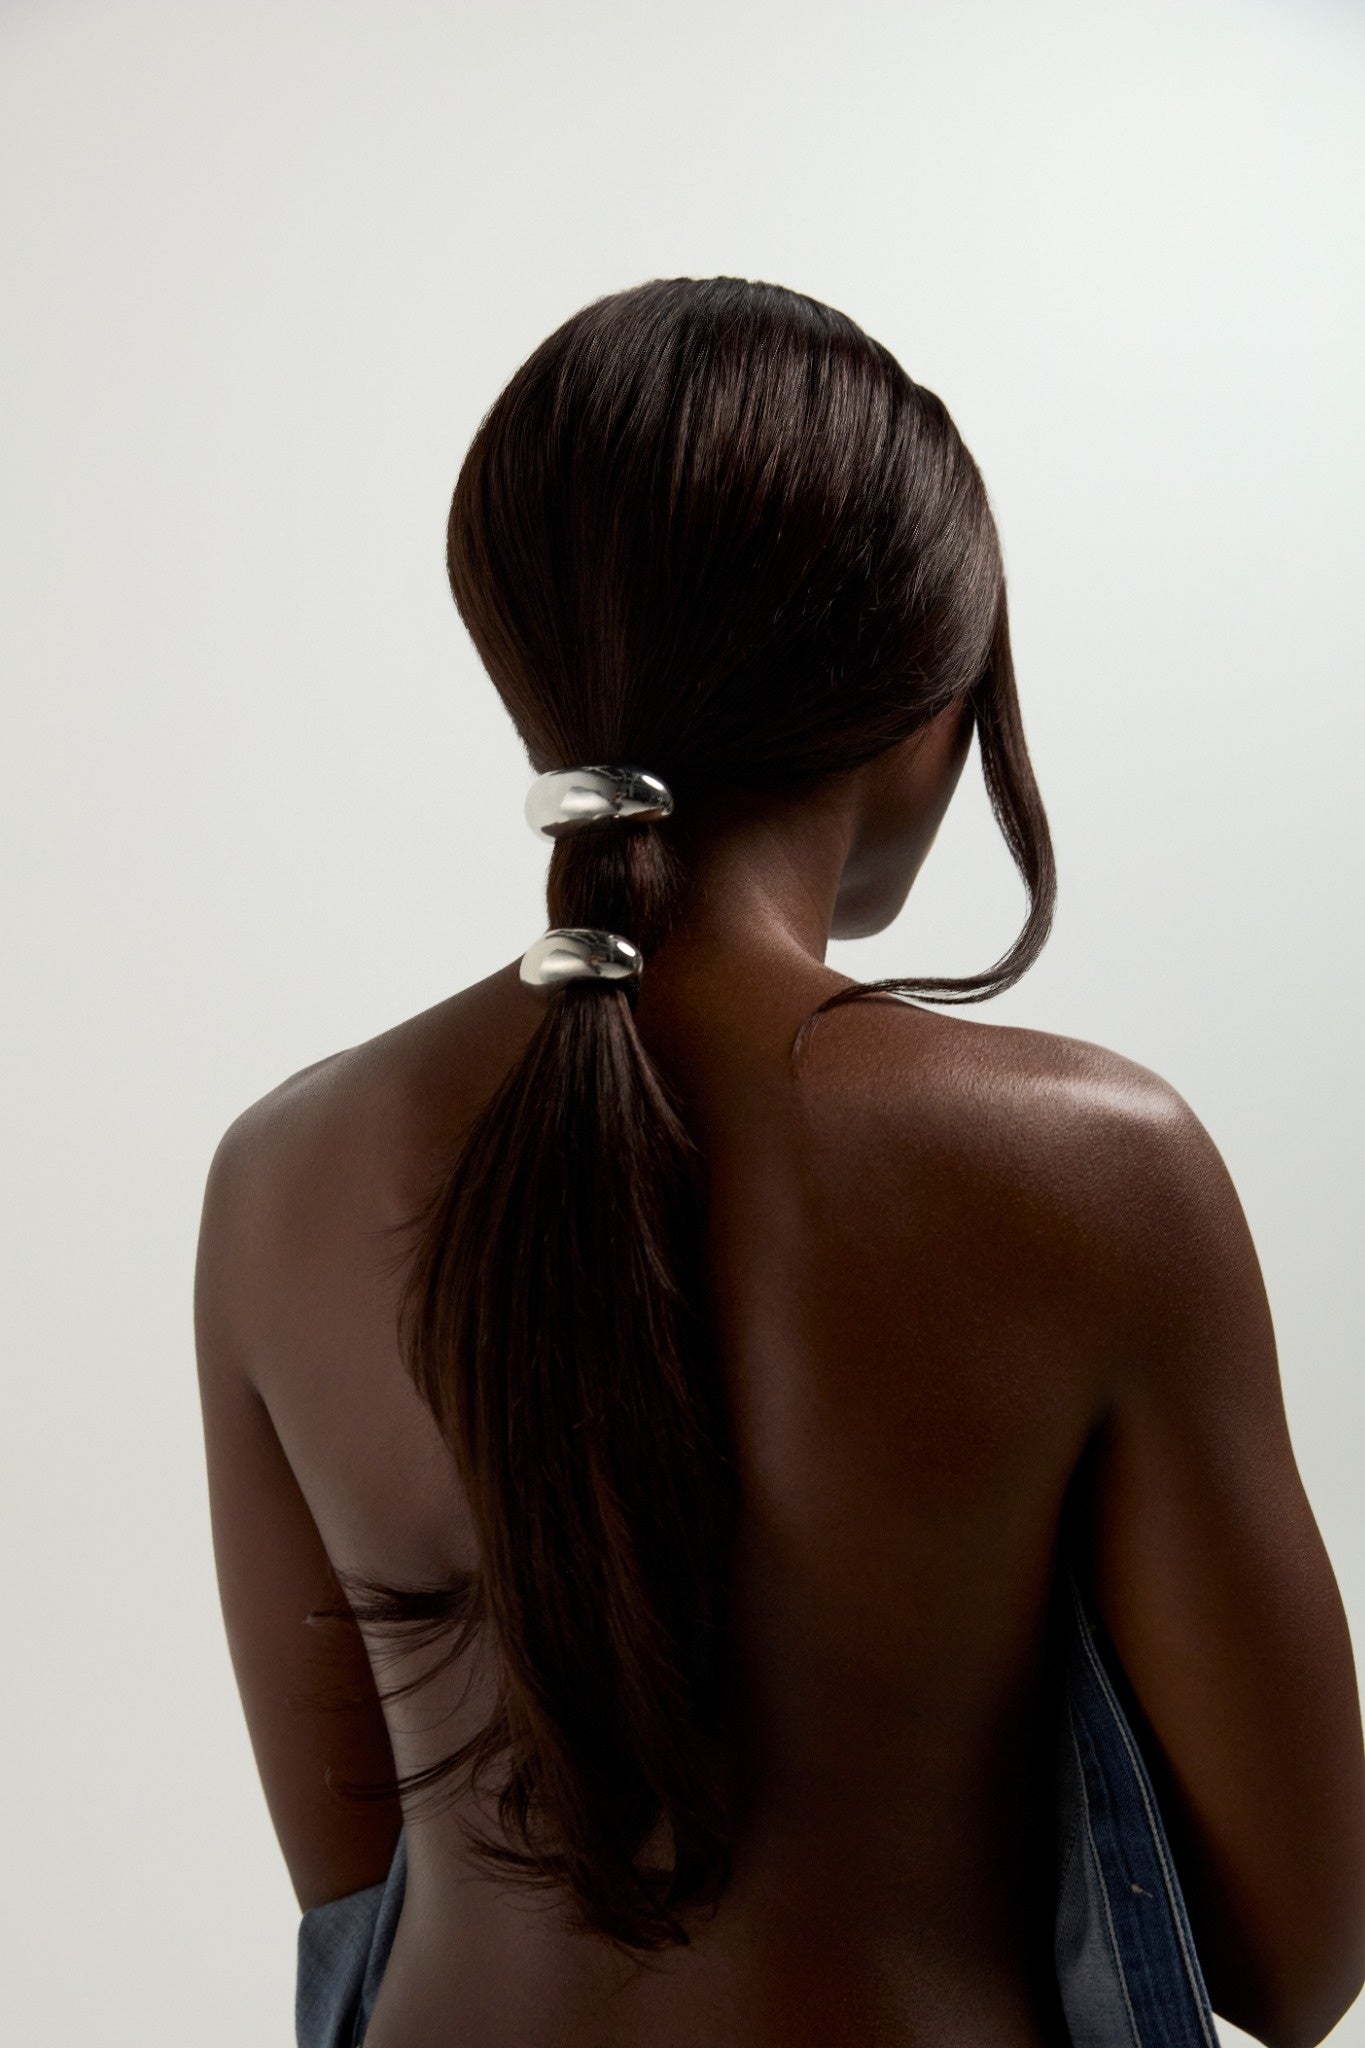
Image | Jorja Smith via Instagram
Attach It The Right Way
Traditional attachment methods like combs, clips and tape are the most popular wig attachment methods but just because they’re popular, doesn’t mean they’re the best.
These options can cause strain and irritation to natural hair over time which can lead to dry, brittle and broken hair not to mention the upkeep can be expensive in the long run.
To avoid these pitfalls, consider switching to a gentler alternative like The Wig Fix. Not only does it hold your wig better than any other method without being harsh on your hair, it also stimulates hair growth by gently massaging your scalp and is an easy way to help grow back your edges.the nodes on The Wig Fix gently massage the scalp to promote blood circulation and induce hair growth!
Keep Up With The Upkeep
So you've prepped your natural hair, found the perfect wig, got your Wig Fix and are ready to live your best life. While wigs can make hair care easier to get lax about daily care, it's important to remember that just because your hair is braided away, it doesn't mean that you can forget about it. Even protected underneath a wig, your hair can still dry out more than it would usually.
Make sure to keep it clean and moisturised regularly. How often you wash it depends on your natural hair chemistry and your lifestyle. If you live a more active life (gym bunny?) make sure you wash your hair more regularly. We recommend once every 1-2 weeks with a gentle shampoo and conditioner combo designed for natural hair. We LOVE Pantene's Gold Series offerings! Don't forget to also moisturise your scalp after every wash and as often as you need in between washes. Cantu's Shea Butter Tea Tree & Jojoba Hair & Scalp Oil is perfect for moisturising your scalp with its super hydrating and nourishing no-drip formula and convenient nozzle applicator.
Time To Reset
While daily maintenance of your hair and wig is important when protective styling, so is a more thorough 'reset'. Taking the time to undo your braids or twists and giving your hair a deep clean ensures that any build-up of product that has sat within your braids or twists can be thoroughly removed and you can treat your hair to a deep condition and even a steam treatment if you're feeling extra. Try using a deep conditioning masque like The Mane Choice Heavenly Halo Herbal Hair Tonic & Soy Milk Deep Hydration Mask while wearing a Steam Cap for maximum hydration. Your hair will thank you for it!
When resetting, don't forget about your wig! While we would recommend washing regularly with shampoo and condition depending on your lifestyle, when doing a deeper clean, a clarifying shampoo can work wonders. Products like Bumble and bumble's Sunday Shampoo gently but thoroughly remove product build-up, residue and even environmental pollutants and keep your wig clean for longer. With a product this good, we want a back-up for our back-up!

Image | Bumble and bumble Sunday Shampoo
Do you love wearing wigs in the winter to protect your natural hair? Leave a comment below to share your winter haircare tips and don't forget to follow us on our social media pages for all of our updates!


Leave a comment
This site is protected by hCaptcha and the hCaptcha Privacy Policy and Terms of Service apply.