

Will Keratin Do It? From Kinky Curls to Bone Straight Tresses
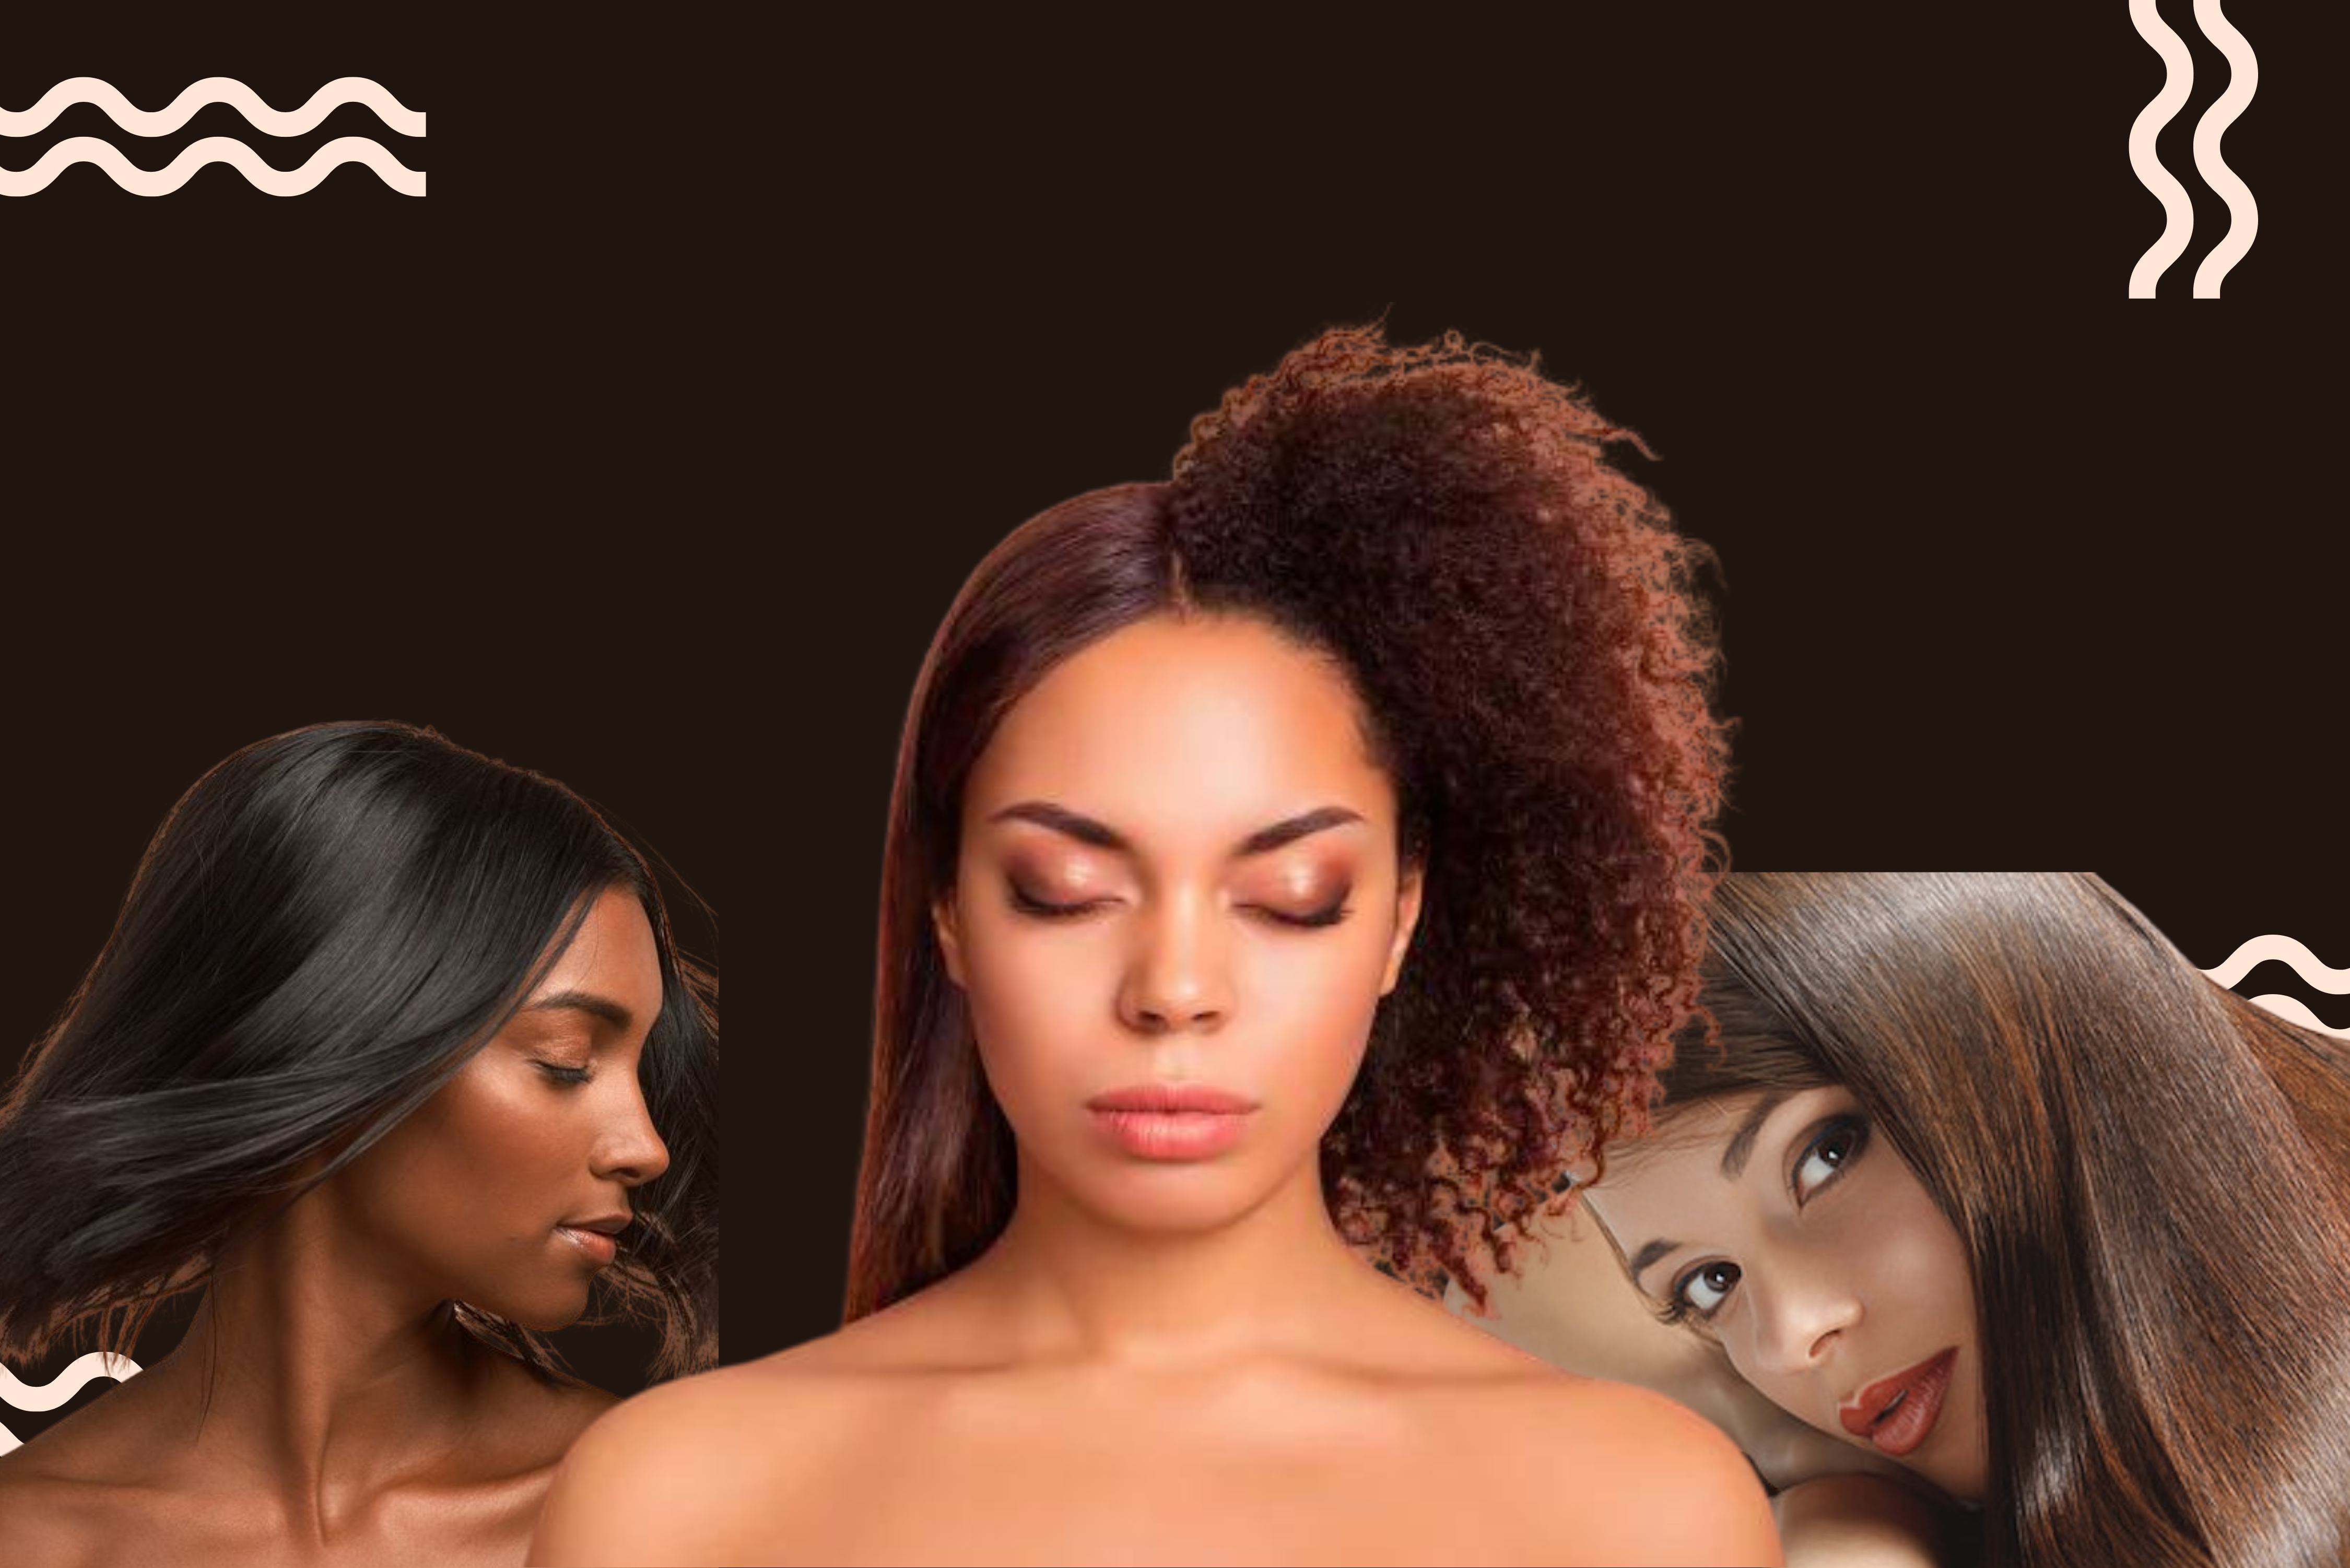
One of the hottest trends in hair care right now is Keratin treatment. The shift from type 4 to bone straight usually means coughing up money for a relaxer or silk press, only for a bit of humidity or rain to completely ruin your hairdresser’s work. Looking for a hair-straightening treatment that’s longer-lasting? Keep reading, we’ve got you.

What is it Exactly?
Keratin is a fibrous protein that shields the hair shaft against humidity. Our hair naturally loses Keratin from exposure to the sun, the environment, the styles we wear and the chemicals we apply to it.
Keratin treatment helps to smooth hair cuticles and fill in damaged areas in the hair shaft, improving the strength and elasticity of your hair. Think of it as a lamination process; when your damaged areas are replenished with keratin, it’s like your hair has a new armour that protects it from breakage and brittleness.

Before your first treatment, use a clarifying shampoo during your at-home wash. Keratin loves a clean hair base - your results will surely be enhanced if your tresses are super clean and free from oils.
And for another top tip we have? If you’re looking to dye your hair, get your new permanent/semi-permanent colour, or highlights done directly before your keratin treatment. The treatment seals in the colour, making it last longer and appear more vibrant - a win win!
Lastly, ensure you're not sensitive to formaldehyde, as it can cause reactions like stinging, itching and burning eyes.
Pregnant women should also avoid keratin treatments, as the chemicals may harm the baby.

Unbelievable Results: Keratin One Salon
If you haven’t seen Keratin One’s TikToks, then where have you been?! Keratin One Salon, located in Manchester, has been taking TikTok by storm. Their work on laminating curly 4c hair often shakes up relentless conversation on the popular app - characterised mostly by shocked emojis and ‘BUT HOW?!’ comments!The owner, Sam, was inspired to start the salon after her experience with her first keratin treatment.
She reminisced: "[After getting the treatment] it hadn't straightened my hair, but it had dramatically reduced my volume and drying time, and had even loosened my curl. That day changed the way I thought about my hair and even my appearance; just by having sleek and overall more manageable hair, I became more confident. That is exactly how I want every client to feel after their treatment in my salon."
Using cutting-edge techniques to garner unbelievable non-chemical results, the inclusive salon Keratin One works on all hair types - from type 1, all the way through to type 4c!

Image | Keratin-treated Hair at Keratin One
Post-Treatment
Introducing your new best friend - deep conditioner. Deep conditioners and deep-conditioning masks will allow your brand new Keratin-treated hair to maintain that killer shine, and of course, ensure a smooth styling process in the mornings!
Top tip: Staying clear from products with sodium and sulphates, as well as chlorine and saltwater, will definitely help to keep your hair feeling healthy.
Once you leave the salon, you leave your oil-stripping shampoos too. Why? These shampoos can cause the Keratin to wear off sooner and encourage dryness… something we don’t want after spending a pretty penny on the treatment!

We’re human - and sometimes we just want something new, even if what we have serves us well enough. Despite how healthy, rich and silk your newly-treated hair may be, if you want to switch your look up for the night, then go for it! Having a trusty store of wigs under your bed never hurt anybody. In a quest to maintain the health of your edges, we’d suggest use of The Wig Fix, to avoid having to glue your wig down.


Leave a comment
This site is protected by hCaptcha and the hCaptcha Privacy Policy and Terms of Service apply.